A STEP-BY-STEP GUIDE FOR CAR INTERIOR PAINT REPAIR
How would you feel if your car's exterior is as good as new, but the interior is damaged or dented, or the peeling paint spoils the look? Does your vehicle need some magical repairs to look its best from the inside? Follow these easy steps for carrying out your car interior paint repair and restoring your car's look.
THE PROCEDURE FOR CAR INTERIOR PAINT REPAIR
You can refresh your car's interior by painting every vinyl and plastic surface, even the fabric of your car seats. To finish it perfectly, you should organize the appropriate material and remove all the items you intend to paint. Moreover, you can find a variety of primers and paints for painting different materials, so their selection is critical. These are the steps to follow if you want an entirely new look after completing your car interior paint repair process.
1. TAKE OUT OR COVER THE COMPONENTS
a. Seek guidance from the manufacturer's manual to remove your car's interior components without breaking or damaging any part. Some parts would take no time to come out, while others may give you a tough time.
b. You can remove the door panels by possibly popping out the plastic section near the window, speakers, or the handle to reveal the screws. Finally, after removing the screws, you can disconnect the speaker wires from the panel.
c. Removing the steering wheel components requires extra caution because a suddenly disposed airbag can harm you anytime. Hence, a detailed study of the manufacturer's manual is mandatory. Moreover, you must detach the car battery for at least 30 minutes before attempting to remove the steering wheel panel.
d. Now, take out the car seats by removing the four bolts, one at each end of the two sliding rails of the seat, using a socket wrench. Then after stretching the seat backwards, you can easily squeeze and pull the plastic clips that hold wiring.
e. It will help if you cover or mask the parts of the seats using plastic or painter's tape that doesn't require painting. Furthermore, if you don't want to remove any component(s) before your car interior paint repair, you should always cover or mask them thoroughly.
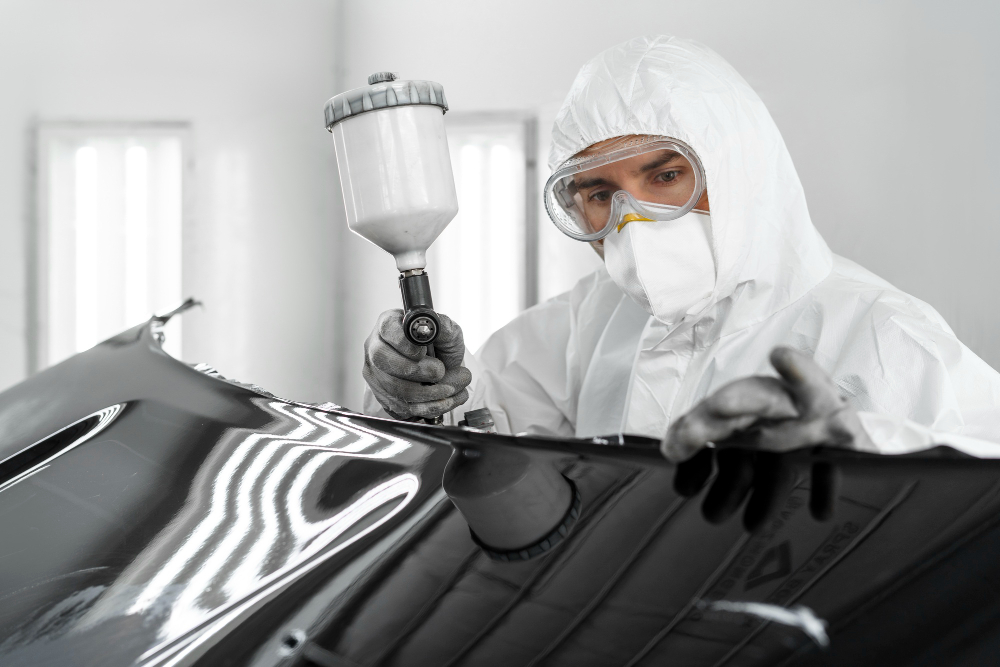
f. You should wear a mask and carry out the painting in a ventilated area to eliminate any chances of fumes getting inhaled.
2. GETTING THE SURFACES READY FOR PAINTING
a. Ensure there is no dust and dirt on every vinyl and plastic component before attempting the car interior paint repair. Never try to use steel wool, sandpaper, or such heavy cleaning pads to avoid any scratches.
b. Dry the vinyl and plastic components using compressed air, as it quickly removes any remaining dust particles. In case of unavailability, let them air dry or wipe with a lint-free dusting cloth.
c. Wipe again with Tri-Sodium phosphate (TSP) but with rubber gloves, eye protection, a breathing mask and protective clothing.
d. Follow the safety precautions guidelines on the product packaging to keep you safe.
e. Finally, clean the fabric of the seats using a vacuum cleaner or a steam cleaner with powerful suction to get rid of dust and debris.
3. PRIMING THE COMPONENTS
a. Select a filler primer for plastic components as it will even out the surfaces making them free from small cracks and scratches.
b. Use an adhesion promoter primer for vinyl components that would support the spray paint to stick to the flexible surfaces.
c. Apply multiple coats to achieve the desired car interior paint repair.
d. There is no need for any primer before painting the fabrics.
4. PAINTING INTERIOR COMPONENTS
a. Select appropriate spray paints designed specifically for auto parts. Choose the paint according to the surface or material of your car's interior because the same paint can't handle everything – plastic, vinyl, and fabric.
b. Follow the instructions and guidelines on the packaging of the paint and spray multiple coats with a gap of 10 to 15 minutes between each coat.
c. To finish the car interior paint repair, carefully spray one or two thin layers of clear coat on vinyl and plastic surfaces.
d. After painting, leave the car interior components to dry completely for 24 hours.
e. After waiting for an entire day, you can now unmask the components and re-install them in reverse order with the help of the manual.
TO SUM UP!
Before priming or painting, removing or covering your car's interior components is highly recommended. Removing or masking each internal part may seem time-consuming to most people. However, it is safer for a car interior paint repair to start by removing every component separately and returning everything to its place once you have finished the painting.